I’ve messed up a wall before. Tiny crack at first, then a chunk of paint peeled off when I tried to “fix” it. What started as a simple shelf install turned into patching, sanding, and repainting the whole thing. Since then, I’ve been a lot more careful about how I hang anything on a wall.
The truth is, hanging shelves safely isn’t about being “handy.” It’s about knowing what your wall can handle, choosing the right method, and not rushing the process. Whether you’re working with drywall, tile, or just trying to avoid damage completely, there are ways to get it right without regret.
Understanding What You’re Working With First
Before you even touch a drill or decide not to, you need to know your wall type. This is where most mistakes begin.
Drywall is the most common, but it’s also the easiest to damage. Brick and concrete are stronger but require different tools. Then there are painted surfaces, tiles, and sometimes older plaster walls that behave unpredictably.
If you skip this simple repair, you’re basically guessing. And guessing is how shelves end up crooked, loose, or worse, falling off.
When You Should Avoid Drilling Altogether
There are situations where drilling just doesn’t make sense:
- You’re renting and don’t want repair headaches
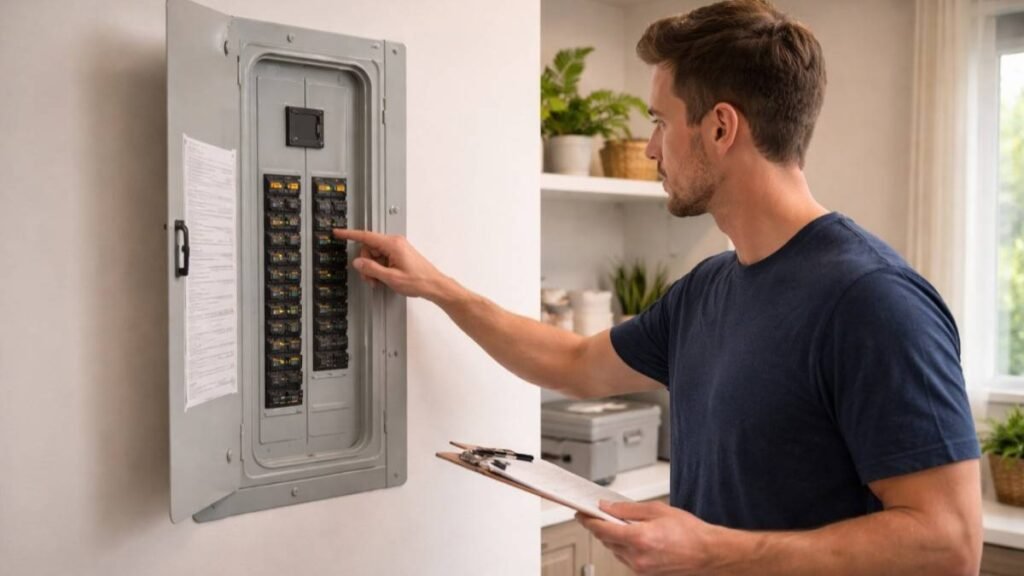
- The wall has wiring or plumbing nearby
- You only need to hold lightweight décor
- The surface is tile or a delicate material
This is where no-drill methods actually shine. They’re not “cheap shortcuts,” they just serve a different purpose.
No-Drill Options That Actually Work (If You Use Them Right)
Not all no-drill solutions are equal. Some work surprisingly well. Others fail because people push them beyond their limits.
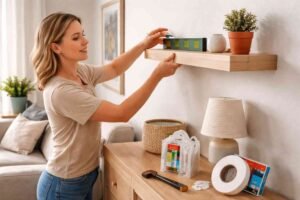
Adhesive Mounting Strips
These are the go-to for damage-free setups, especially on smooth painted walls.
They work best for:
- Small plants
- Picture frames
- Lightweight décor
The key mistake people make? Overloading them. Even if the packaging says 10 lbs, staying under 5 lbs is safer long-term. Adhesive weakens over time, especially in humid spaces.
Also, surface prep matters more than people think. If there’s dust or grease, the bond fails early.
Tension-Based Shelving
This is one of the most underrated options.
These systems use pressure between two surfaces, like floor-to-ceiling or wall-to-wall, to stay in place. No holes, no residue, no risk to paint.
They’re perfect for:
- Closets
- Bathrooms
- Narrow wall gaps
They’re also adjustable, which makes them practical if you move things around often.
Freestanding or Leaning Shelves
If you’re dealing with heavier items, skip wall mounting entirely.
Leaning shelves or ladder-style units:
- Require zero installation
- Hold significantly more weight
- Can be repositioned anytime
They’re often more stable than poorly installed wall shelves. The only trade-off is space.
If You’re Drilling, Do It the Right Way
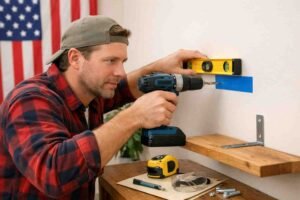
Sometimes, you just need a strong, permanent shelf. That means drilling but safely.
This is where things go wrong for most people: they either skip anchors or miss the stud entirely.
Here’s what actually works:
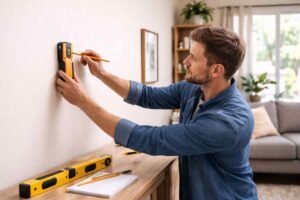
- Use a stud finder whenever possible
- If no stud, use proper drywall anchors (not cheap plastic ones)
- Drill pilot holes instead of forcing screws directly
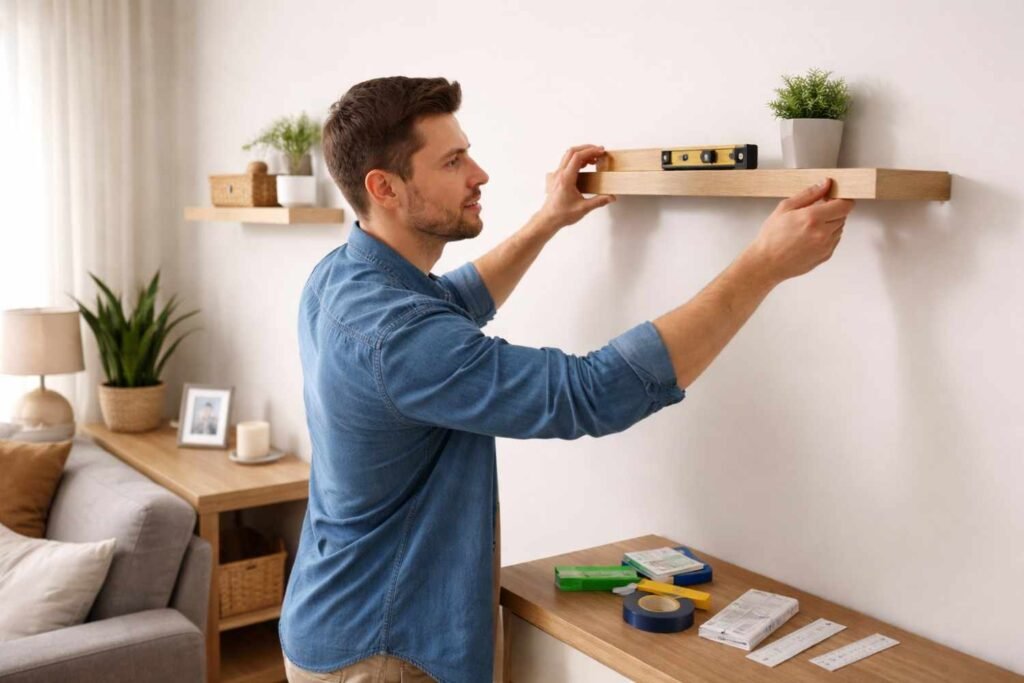
- Use a level before committing to holes
A shelf is only as strong as what’s behind it. Anchors distribute weight, but they’re not magic. If you overload them, they fail.
One Small Section That Makes a Big Difference
Here are a few things that consistently separate a clean install from a messy one:
- Measure twice, drill once
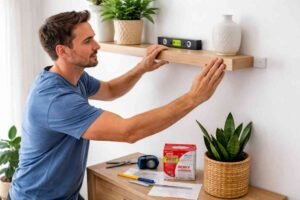
- Always use a level, even for small shelves
- Don’t trust “eyeballing” alignment
- Match screw size to shelf weight
- Avoid installing near outlets or switches
These aren’t advanced tips. They’re just the basics people skip.
Damage-Free Installation Tips That Actually Matter
A lot of shelf failures aren’t because of the method, but because of poor prep or impatience.
Here’s what makes the biggest difference:
Surface Preparation Is Everything
Clean the wall and shelf surface using isopropyl alcohol. Not regular cleaners, they leave residue that weakens adhesion.
Use a Level Before You Commit
A slightly tilted shelf doesn’t just look off; it puts uneven stress on mounts, especially adhesives.
Respect Weight Limits (Seriously)
Even if something claims 10 lbs, staying under 50–60% of that is safer. Adhesive systems degrade over time.
Give It Time to Set
Adhesive needs time to cure. Placing items too soon is one of the fastest ways to ruin the setup.
Remove It the Right Way
Stretch adhesive strips slowly downward when removing. Ripping them off damages the paint almost every time.
What Actually Causes Shelf Failures

Most failures aren’t random. They’re predictable.
- Using the wrong anchor for the wall type
- Ignoring weight limits
- Skipping leveling tools
- Mounting on weak or textured surfaces
- Rushing installation
Once you’ve seen a shelf collapse, you realize it’s rarely “bad luck.” It’s usually one small shortcut that caused it.
FAQs: Safe DIY Ways To Hang Shelves On Walls Without Damaging Your Space
1. How do I hang shelves without damaging the walls?
Use adhesive strips, tension systems, or freestanding shelves. These avoid drilling and work best for lightweight or temporary setups.
2. Are adhesive shelves strong enough?
They can hold light items, typically under 5–10 lbs. For anything heavier, anchored or freestanding options are safer.
3. What is the safest way to mount shelves on drywall?
Use a stud if possible. If not, install high-quality drywall anchors and avoid exceeding weight limits.
4. Can I hang shelves on tile without drilling?
Yes, but only with strong adhesive systems designed for smooth surfaces. Regular adhesives may fail on tile.
Final Thoughts
Hanging shelves seems simple until something goes wrong. Most of the damage people deal with, such as cracked walls, peeling paint, and loose brackets, comes from rushing or using the wrong method for the situation. Once you understand your wall type and the limits of each installation method, the process becomes a lot more predictable. You don’t need advanced tools or experience, just a bit of patience and the willingness to do it properly.
In the end, safe installation is less about skill and more about restraint, knowing when to drill, when not to, and when to keep things simple.